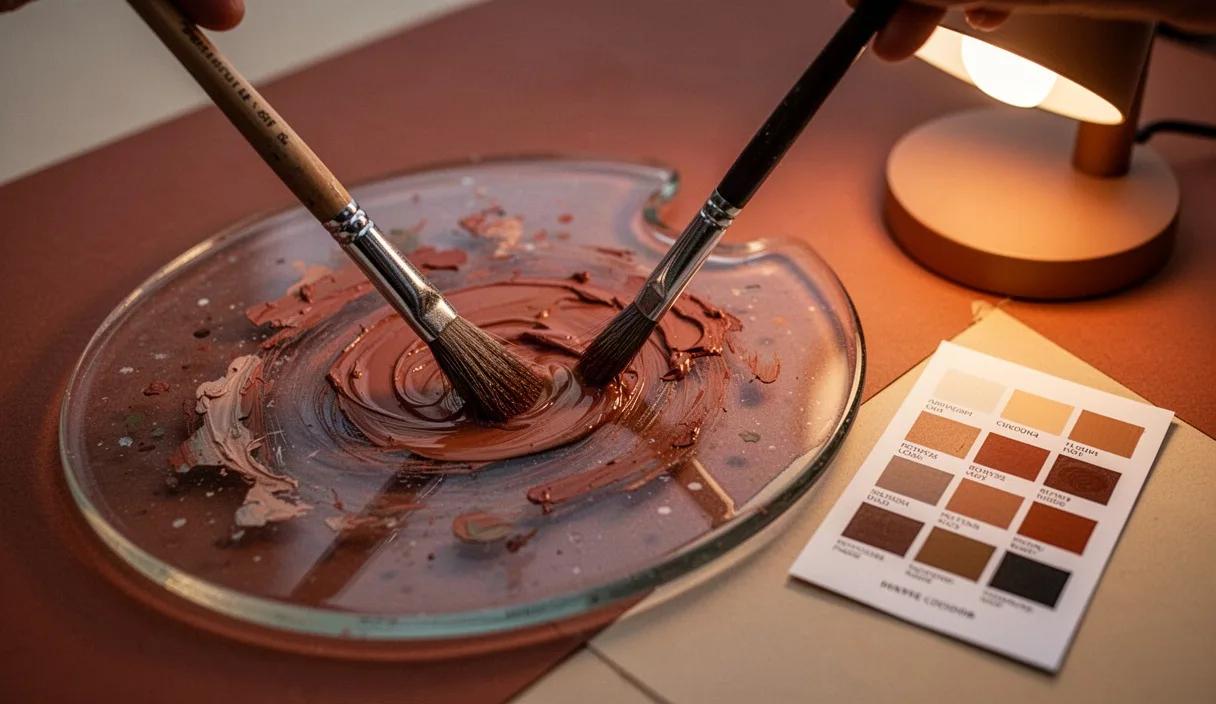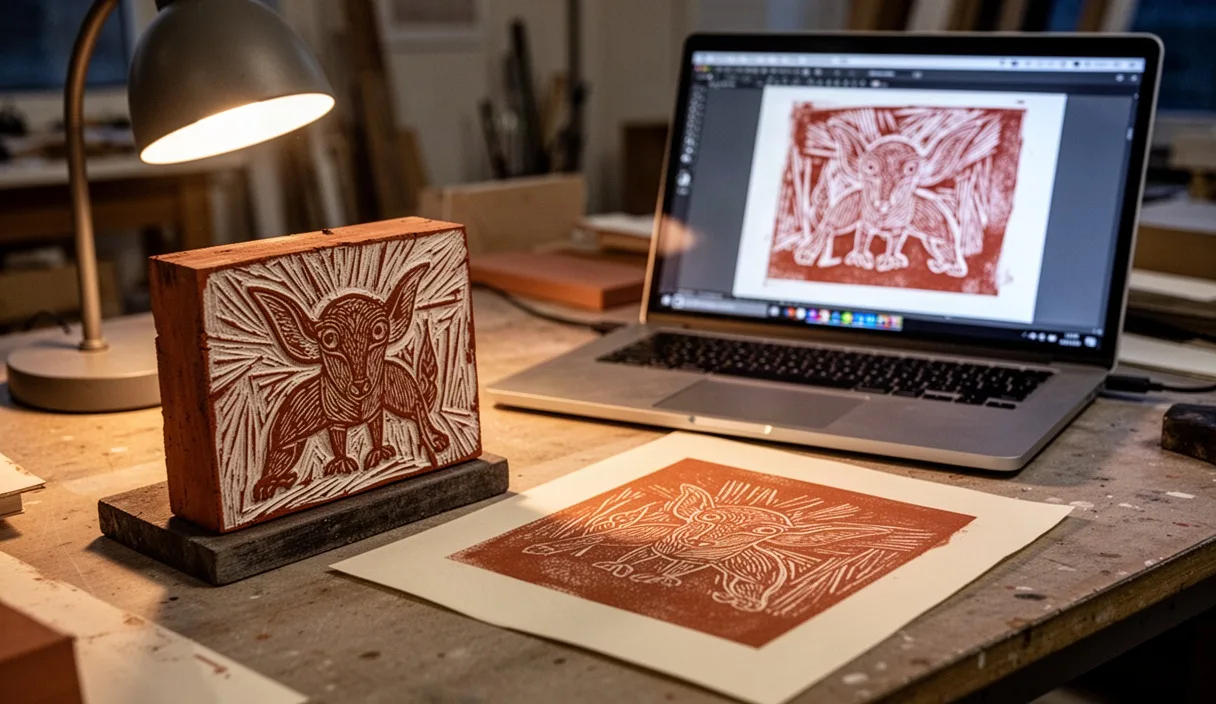
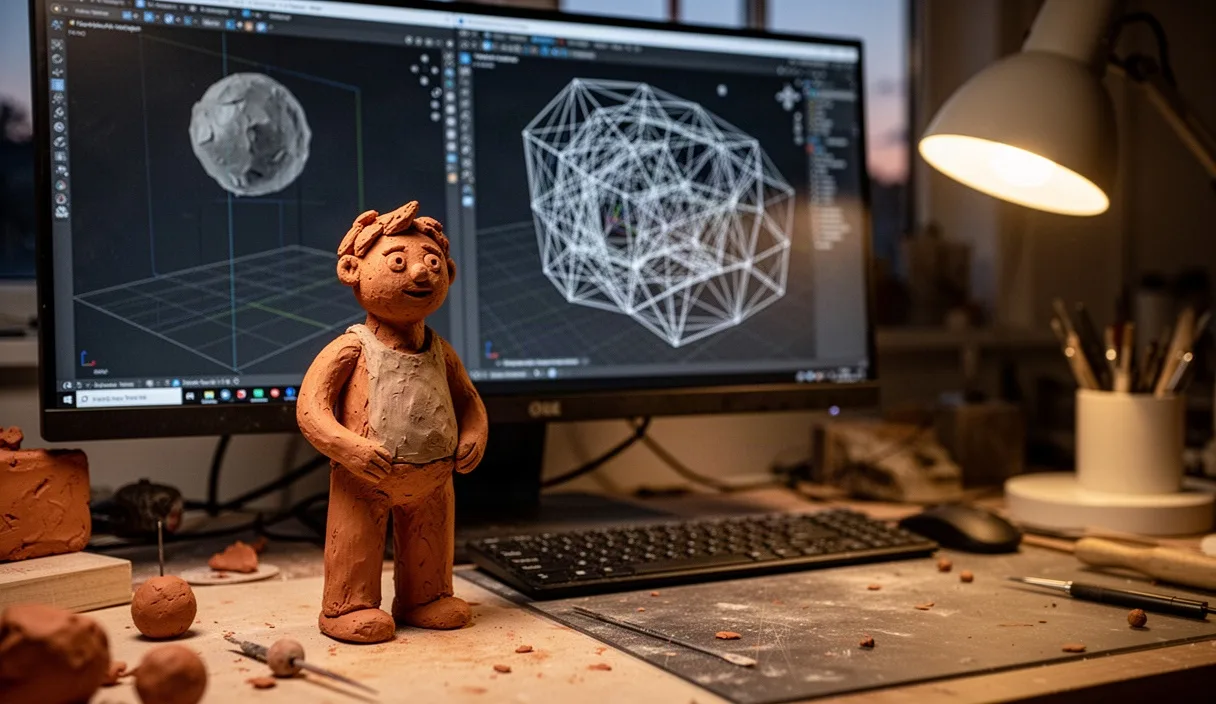
We wanted to settle an argument that keeps coming up in the studio: which method actually gets you to a finished form faster, and which one gives you a result worth keeping. So we picked a single figure, a seated animal about the size of a fist, and made it three times. Once in clay, once in 3D modeling software, and once through an AI mesh generator. Same reference photo taped to the wall each time, same rough dimensions, same three days to work in.
What follows is not a verdict on which tool wins. It's a record of what happened at the bench, the screen and the keyboard, including the parts that went wrong. We timed ourselves, we kept the failed attempts, and we photographed the mess in between so we'd remember what patience actually costs in each medium.
Choosing one simple form to test across three methods
We settled on a seated fox, roughly 14 centimeters tall, with four visible paws, a tail wrapped around one side, and ears that needed to read as thin without actually being fragile in the final material. The brief was simple on purpose: no fur texture, no articulation, no base plate. We wanted a shape complex enough to require real decisions about volume and weight distribution, but simple enough that a bad result would be obviously our fault and not the subject's.
We picked this form because it has the three things that trip up every method differently: a thin overhanging element (the tail), a symmetrical pair that's easy to get lopsided (the ears), and a solid mass that needs to feel settled rather than stiff (the body). Each method would have to solve those three problems using completely different tools, which is exactly what we wanted to compare.
Hand-building the figure in clay
We used a mid-fire stoneware body with some grog in it, about 450 grams to start. The first twenty minutes went into wedging, which is not wasted time, it's how you find air pockets before they find you in the kiln. We built from the inside out: a rough ball for the body, pinched and paddled into a wedge shape, then added the head as a separate ball blended in with a wooden rib.
The ears went on last and nearly broke twice. Thin clay dries faster than thick clay, so by the time we'd shaped the body, the ears we'd pre-rolled had stiffened just enough to crack at the base when we tried to attach them. We scored and slipped a fresh pair instead of forcing the dry ones, which cost us twelve extra minutes but avoided a repair later.
Total working time was 2 hours and 40 minutes across two sessions, with an overnight rest between them so the clay could firm up to leather-hard before we refined the paws. We did not glaze or fire it for this comparison, since the point was to compare process, not finished ceramics, but we noted where a professional kiln firing would be the next real step if we wanted a permanent piece.
- Wedging and air removal: 20 minutes
- Building body and head: 55 minutes
- Attaching legs and tail: 40 minutes
- Ears, rework after cracking: 25 minutes
- Smoothing and final detail pass (next day): 20 minutes
Modeling the same figure in 3D software
For this round we used Blender, starting from a base mesh cube and working with subdivision surface modeling, which is the digital equivalent of starting with a lump and pushing volume around. We built the body first using loop cuts to control where the form would bend, then extruded the legs and tail from the main mass rather than modeling them separately, which kept the topology clean enough to avoid pinching at the joints.
The ears were the easiest part of this whole method. Unlike clay, a thin digital shape doesn't crack or sag, so we could make them as delicate as the reference photo actually showed, then adjust thickness later with a solidify modifier set to 1.2 millimeters of virtual thickness, enough to survive a 3D print if we ever sent the file out.
Symmetry was nearly free. We worked on one half of the model with a mirror modifier active, so the other ear, paw and side of the face updated automatically. That's the single biggest difference from clay, where every symmetrical pair has to be eyeballed and compared by hand.
Total time was 1 hour and 55 minutes, including about 15 minutes lost to a collapsed normal on the tail where two faces had flipped inward and the surface looked shaded wrong until we recalculated normals from the mesh menu.
Generating a mesh through an AI tool
We fed the same reference photo into an image-to-3D generation tool and asked for a mesh output in OBJ format. The first result arrived in about 90 seconds. It had a recognizable seated fox silhouette, four legs, a head and a tail, but the ears had fused into a single rounded lump and one hind paw disappeared into the body mass entirely.
We regenerated twice more with slightly cropped versions of the reference photo, since we noticed the tool seemed to respond to how much background clutter was in the frame. The third generation, using a tightly cropped photo with a plain background, produced separable ears and a cleaner paw silhouette, though the tail still read as a thick stub rather than the tapered curl we wanted.
Cleanup took far longer than generation. We imported the mesh into Blender and spent 50 minutes manually re-separating the ears, which had overlapping geometry that needed boolean cuts, and another 20 minutes smoothing a jagged seam along the fox's back where the mesh had a visible stitching artifact from the generation process. This matters for anyone expecting a one-click result: the raw output needed real sculpting skill to become usable, not just a quick polish.
Total time across three generation attempts plus cleanup was 1 hour and 40 minutes, and that number assumes you already know your way around mesh editing tools. Without that background, the raw output would likely sit unusable on a hard drive.
Comparing time spent at each stage
| Method | Active working time | Biggest time cost |
|---|---|---|
| Hand-built clay | 2 hours 40 minutes | Rework after ears cracked |
| 3D software modeling | 1 hour 55 minutes | Fixing flipped normals on tail |
| AI mesh generation | 1 hour 40 minutes | Manual cleanup after generation |
The raw numbers favor the AI tool, but that ranking flips once you account for drying and curing time that doesn't require active attention. Clay needs roughly 24 hours to reach leather-hard and several more days to dry fully before any firing, time we could spend on other work. The digital methods were finished the moment we stopped clicking, with no passive waiting built in at all.
It's also worth noting that the AI method's 1 hour 40 minutes assumed existing mesh-editing skill. For someone without that background, the generation step would be fast but the cleanup step could stretch to several hours of trial and error, or the result might simply get abandoned unedited.
Comparing the surprises and errors each method produced
Clay surprised us with how forgiving it was about correcting mistakes mid-build, since wet clay can be pushed, added to or cut away at almost any point before it stiffens, but it punished delay: the cracked ears happened purely because we waited too long to attach a thin piece. The lesson there is about sequencing, not skill.
The 3D software surprised us with how much a single technical error, the flipped normal on the tail, could visually read as a modeling mistake when it was actually a rendering mistake. We fixed it with one menu command once we recognized what was wrong, but recognizing it took longer than fixing it, about 10 of the 15 minutes lost there.
The AI tool surprised us by being inconsistent in a way neither other method was. Hand skills and software skills tend to produce similar results if you repeat the same steps. The AI generations varied meaningfully between attempts even with the same input photo, which meant we couldn't predict the outcome from the input the way we could with the other two methods.
- Clay error: dry-stiffened ears cracking at the join, solved by scoring, slipping and rebuilding with fresh material
- Software error: inverted normals creating a false shading artifact, solved with a normals recalculation command
- AI error: fused ears and swallowed paw geometry, solved only through repeated regeneration and manual mesh separation
What we'd choose depending on the final use
If the goal is a one-off object meant to be touched, gifted or fired as a ceramic piece, we'd choose clay without hesitation. No digital method reproduces the slight asymmetry and hand-pressure variation that makes a handmade object feel made by someone, and if the end use is physical from the start, working physically from the start avoids a translation step entirely.
If the goal is a digital asset meant for 3D printing, animation or game use, we'd choose the software modeling route. The clean topology from deliberate modeling holds up better under later editing, rigging or re-scaling than a generated mesh does, and the mirror modifier alone saves enough time on symmetrical forms to justify the steeper learning curve.
If the goal is a rough starting shape meant only as a base for further sculpting, the AI tool earns its place. Ninety seconds to get a silhouette you'd otherwise spend 40 minutes blocking out by hand is a real advantage, provided you treat the output as a rough block-in and not a finished mesh, and provided someone on the project actually has the mesh-editing skill to clean it up.
Common mistakes
- Attaching thin clay elements, like ears or handles, after they've sat out long enough to stiffen past a leather-hard state
- Ignoring a mirror modifier in 3D software and manually trying to match both sides of a symmetrical form by eye
- Treating an AI-generated mesh as print-ready without inspecting it for overlapping geometry or fused details
- Skipping a reference photo crop before AI generation, which we found changed output quality noticeably
- Rushing the wedging step in clay, which can leave air pockets that cause problems much later in a kiln firing, a step a professional ceramicist should always be consulted on for anything going into a kiln you don't operate yourself
Next steps if you want to try this comparison yourself
Pick a reference object with at least one thin overhanging part and one symmetrical pair, since those are the features that reveal the real differences between methods. Time yourself honestly, including rework, not just the parts that went smoothly.
Start with clay if you have no digital background at all, since the tactile feedback teaches volume and weight in a way that transfers to the other two methods later. If you already model digitally, try the AI generation step purely as a block-in exercise before building your own topology on top of it, and compare how much faster that two-step process is compared to modeling from scratch.